It’s no surprise from those close to me that I haven’t been feeling inspired lately. There are a lot of reasons – poor health, poor diet, burn-out, tired, fibromyalgia, kid schedules, you get the idea. And I’m working to fix these things. It’s just a slow process… especially when you lack motivation.
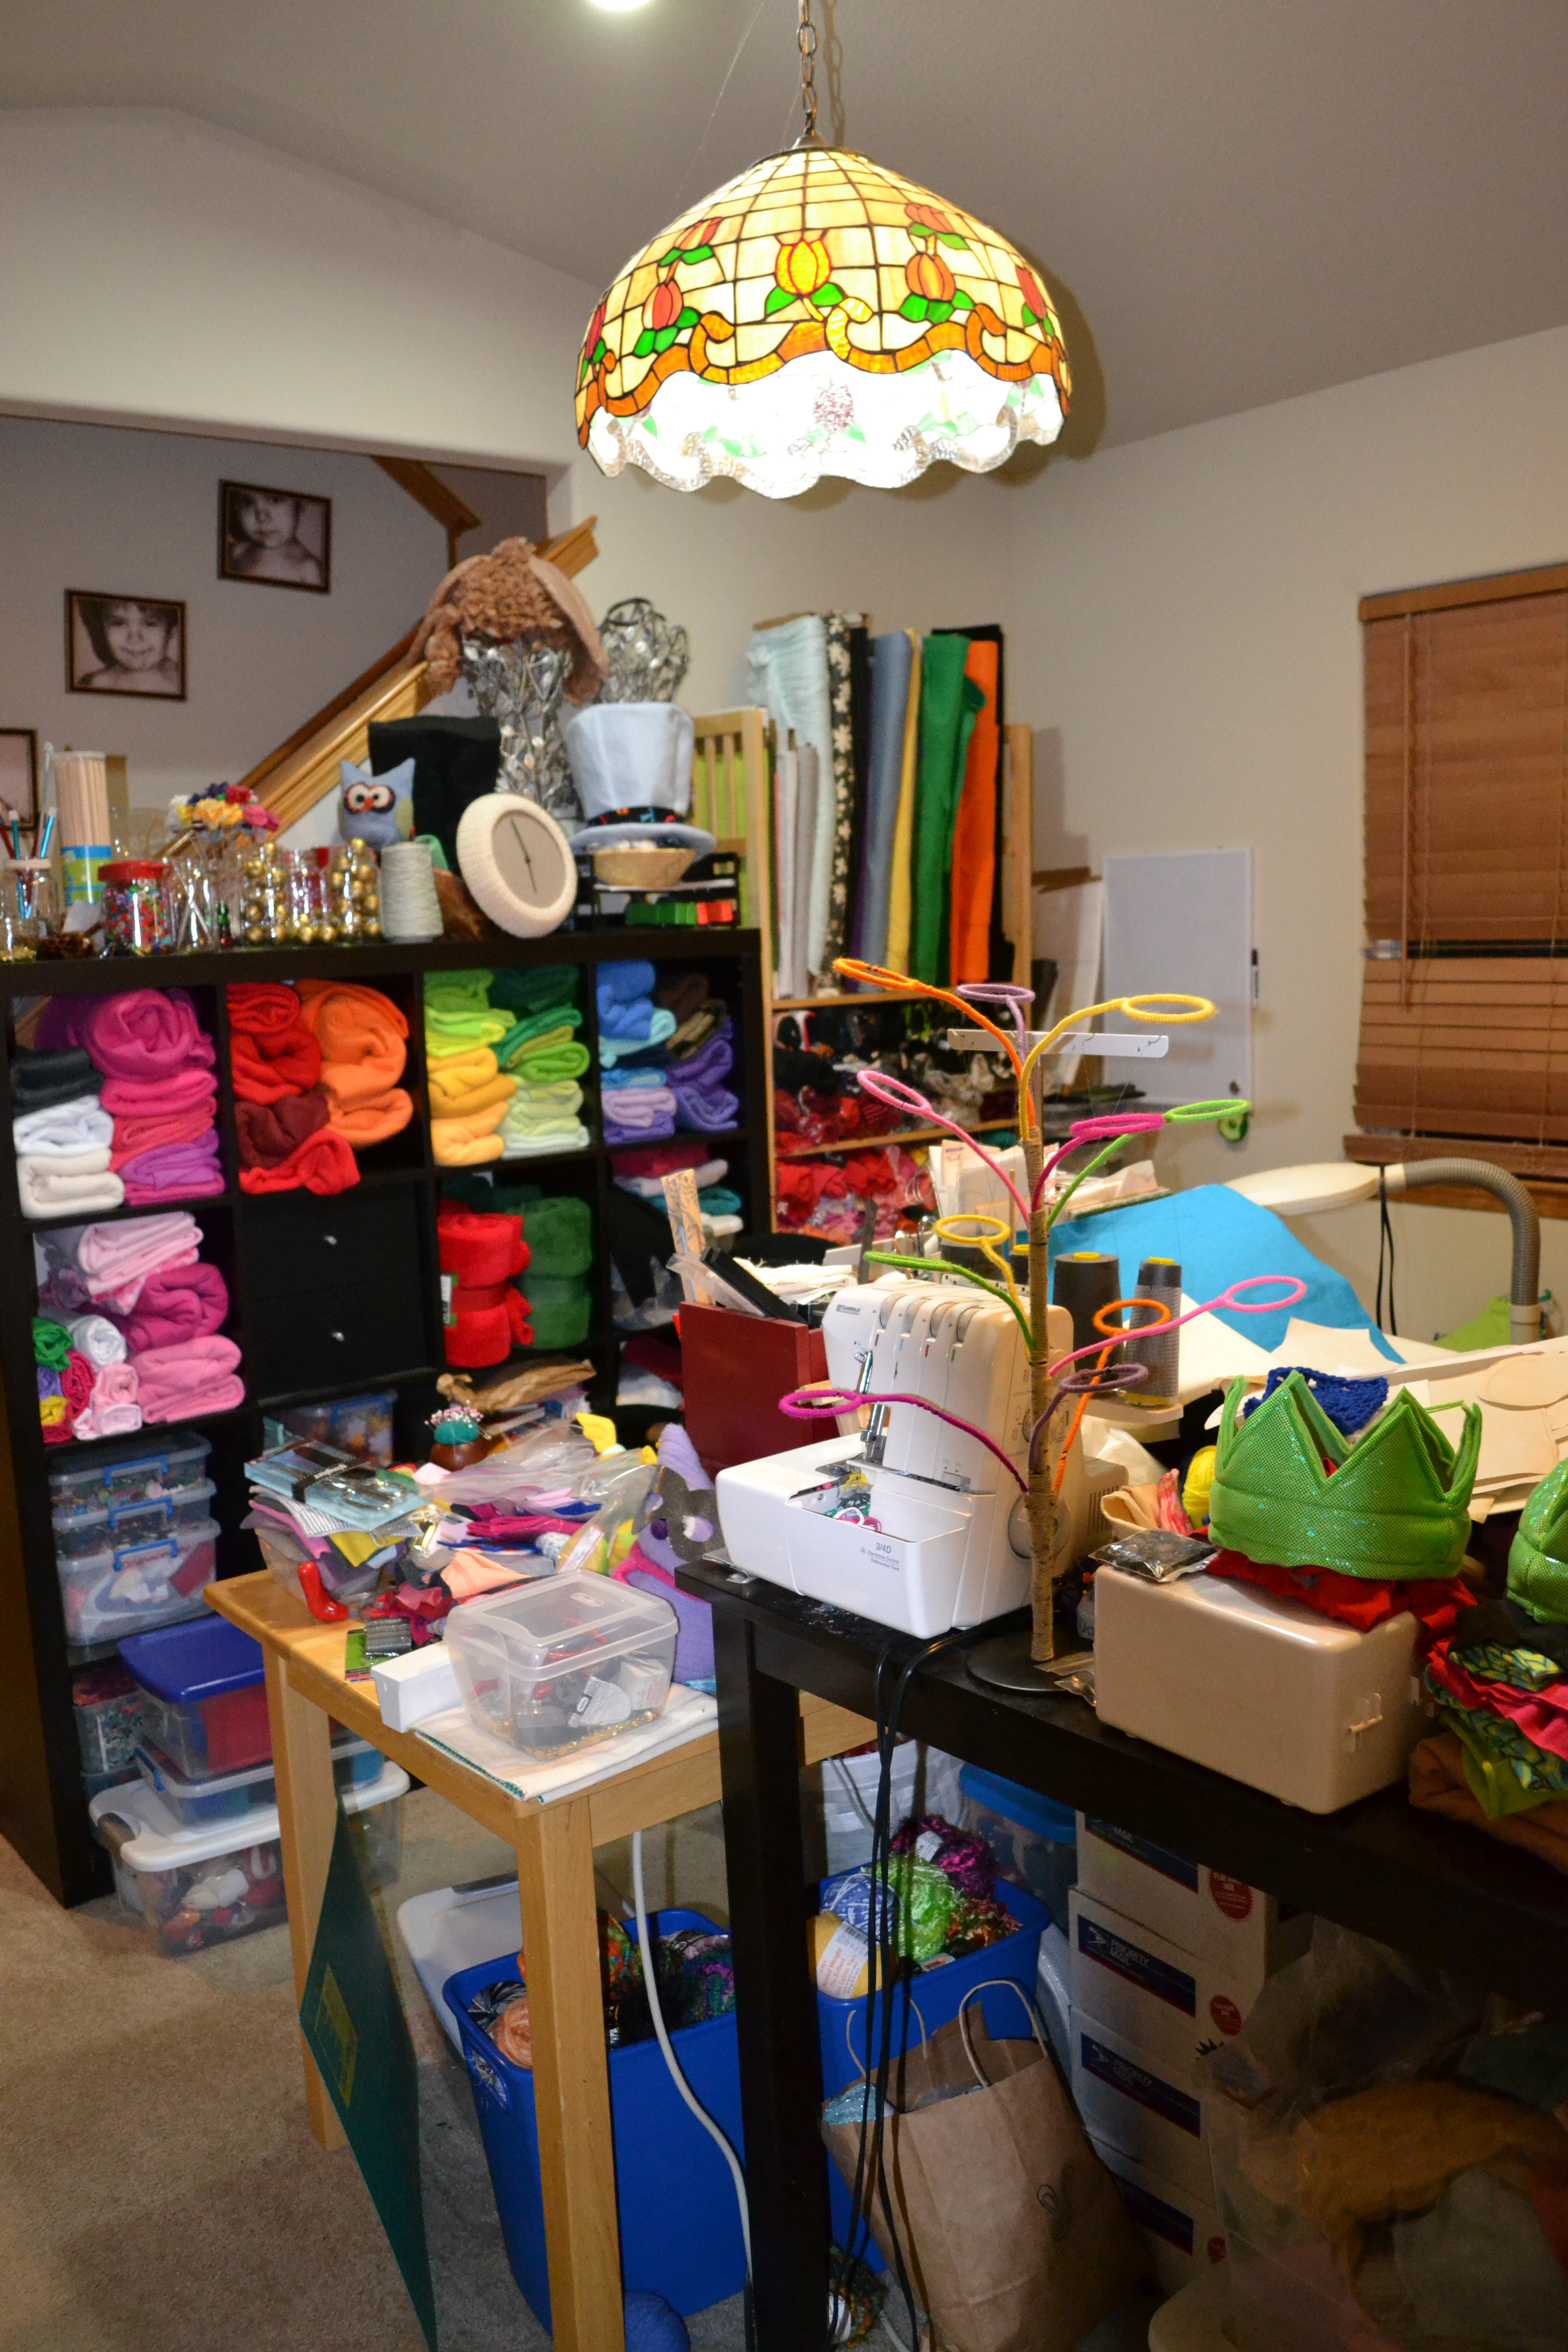
Thankfully my mom came into town (which is the reason for my little hiatus in posting). While she couldn’t really help me get motivated, she did give me the push that I needed to clean my work space. This is a big deal because when it’s clean is when I feel the most inspired. The space isn’t done… but here are some before photos (yes, it’s embarrassing – but I did just finished with my busy season from September through December).

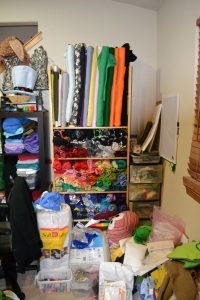
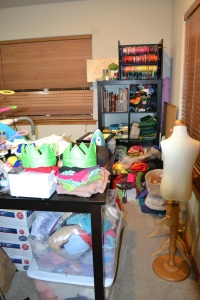
Work room before reorganization
The worst part of my work space is the desk tops where I’m supposed to have space to work. These are the first surfaces to accumulate “junk” – it’s not junk, but it’s ransom things that I need to find homes for. And I’m taking this picture from where the front door is… so yep, this was the first thing people would see whether they came into the house or not.
The corner of dread.
This is the back corner. I had some bins on the right that I moved out to my garage to make room for materials I used more often. And so that space was filled in with more things that had no space. And since there wasn’t a shelf or anything, it all went on the floor and I stacked from there.
Narrow walk way… one of the few spaces where you could still see the ground.
My “walk way”. Having a narrow walk way did constantly remind me that I need to lose weight, but other than that, it was frustrating. Because my chair blocks access from the other side, this is the way I’d have to walk into my work space if I needed to get anything.
Can you see why I was not motivated? Okay, so here’s the progress. The plan was to rearrange the work tables so that I’d have space to walk behind my chair, swap the two taller shelves so that I’d be able to store all my similar materials together (and make it look prettier with all the color). Yep, that was about as far as the plan went. Oh, and to clear the table tops (this is the part that I still have not done. I managed to rearrange the tables without clearing the tops – where there is a well, there is a way).
While this re-organization was not as drastic as they normally are (I often have to do this at the first of every year), it was needed. But it being less drastic means to me that I’m getting closer to a space that works for me.
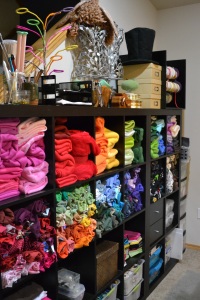
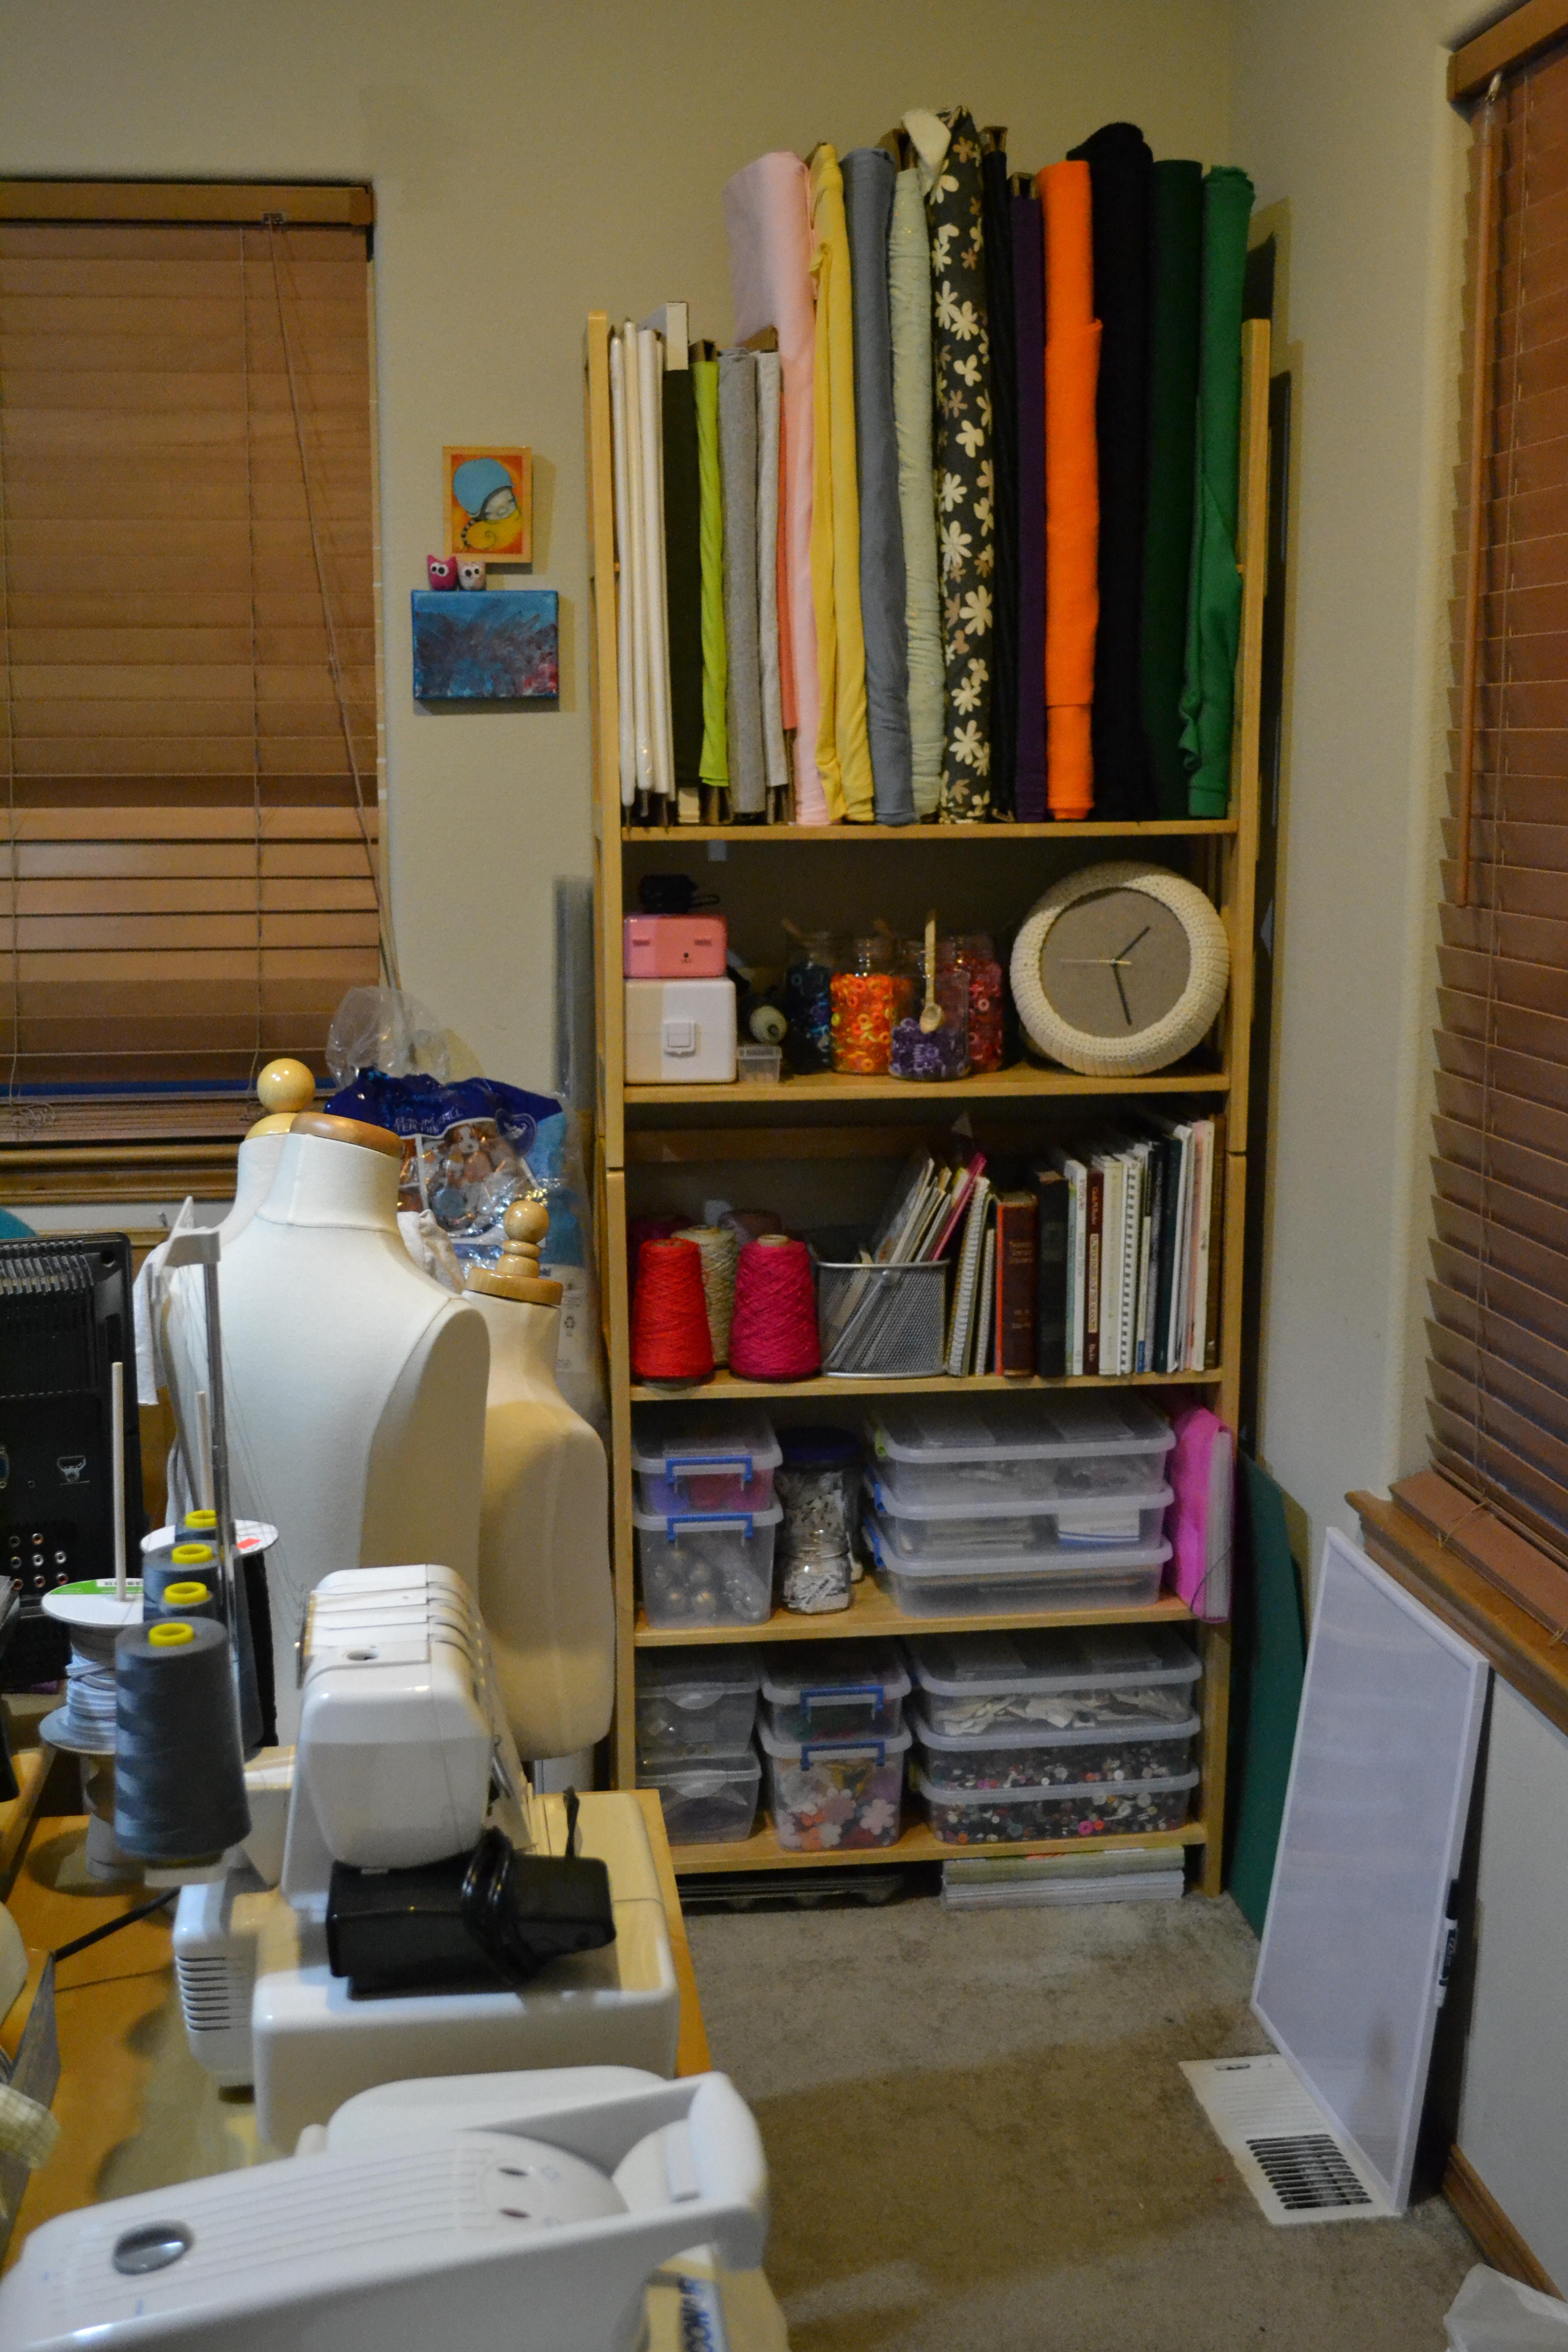
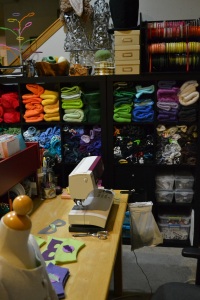
Wall of fabric. This was my favorite feature of my workspace before, so I kept it and expanded it.
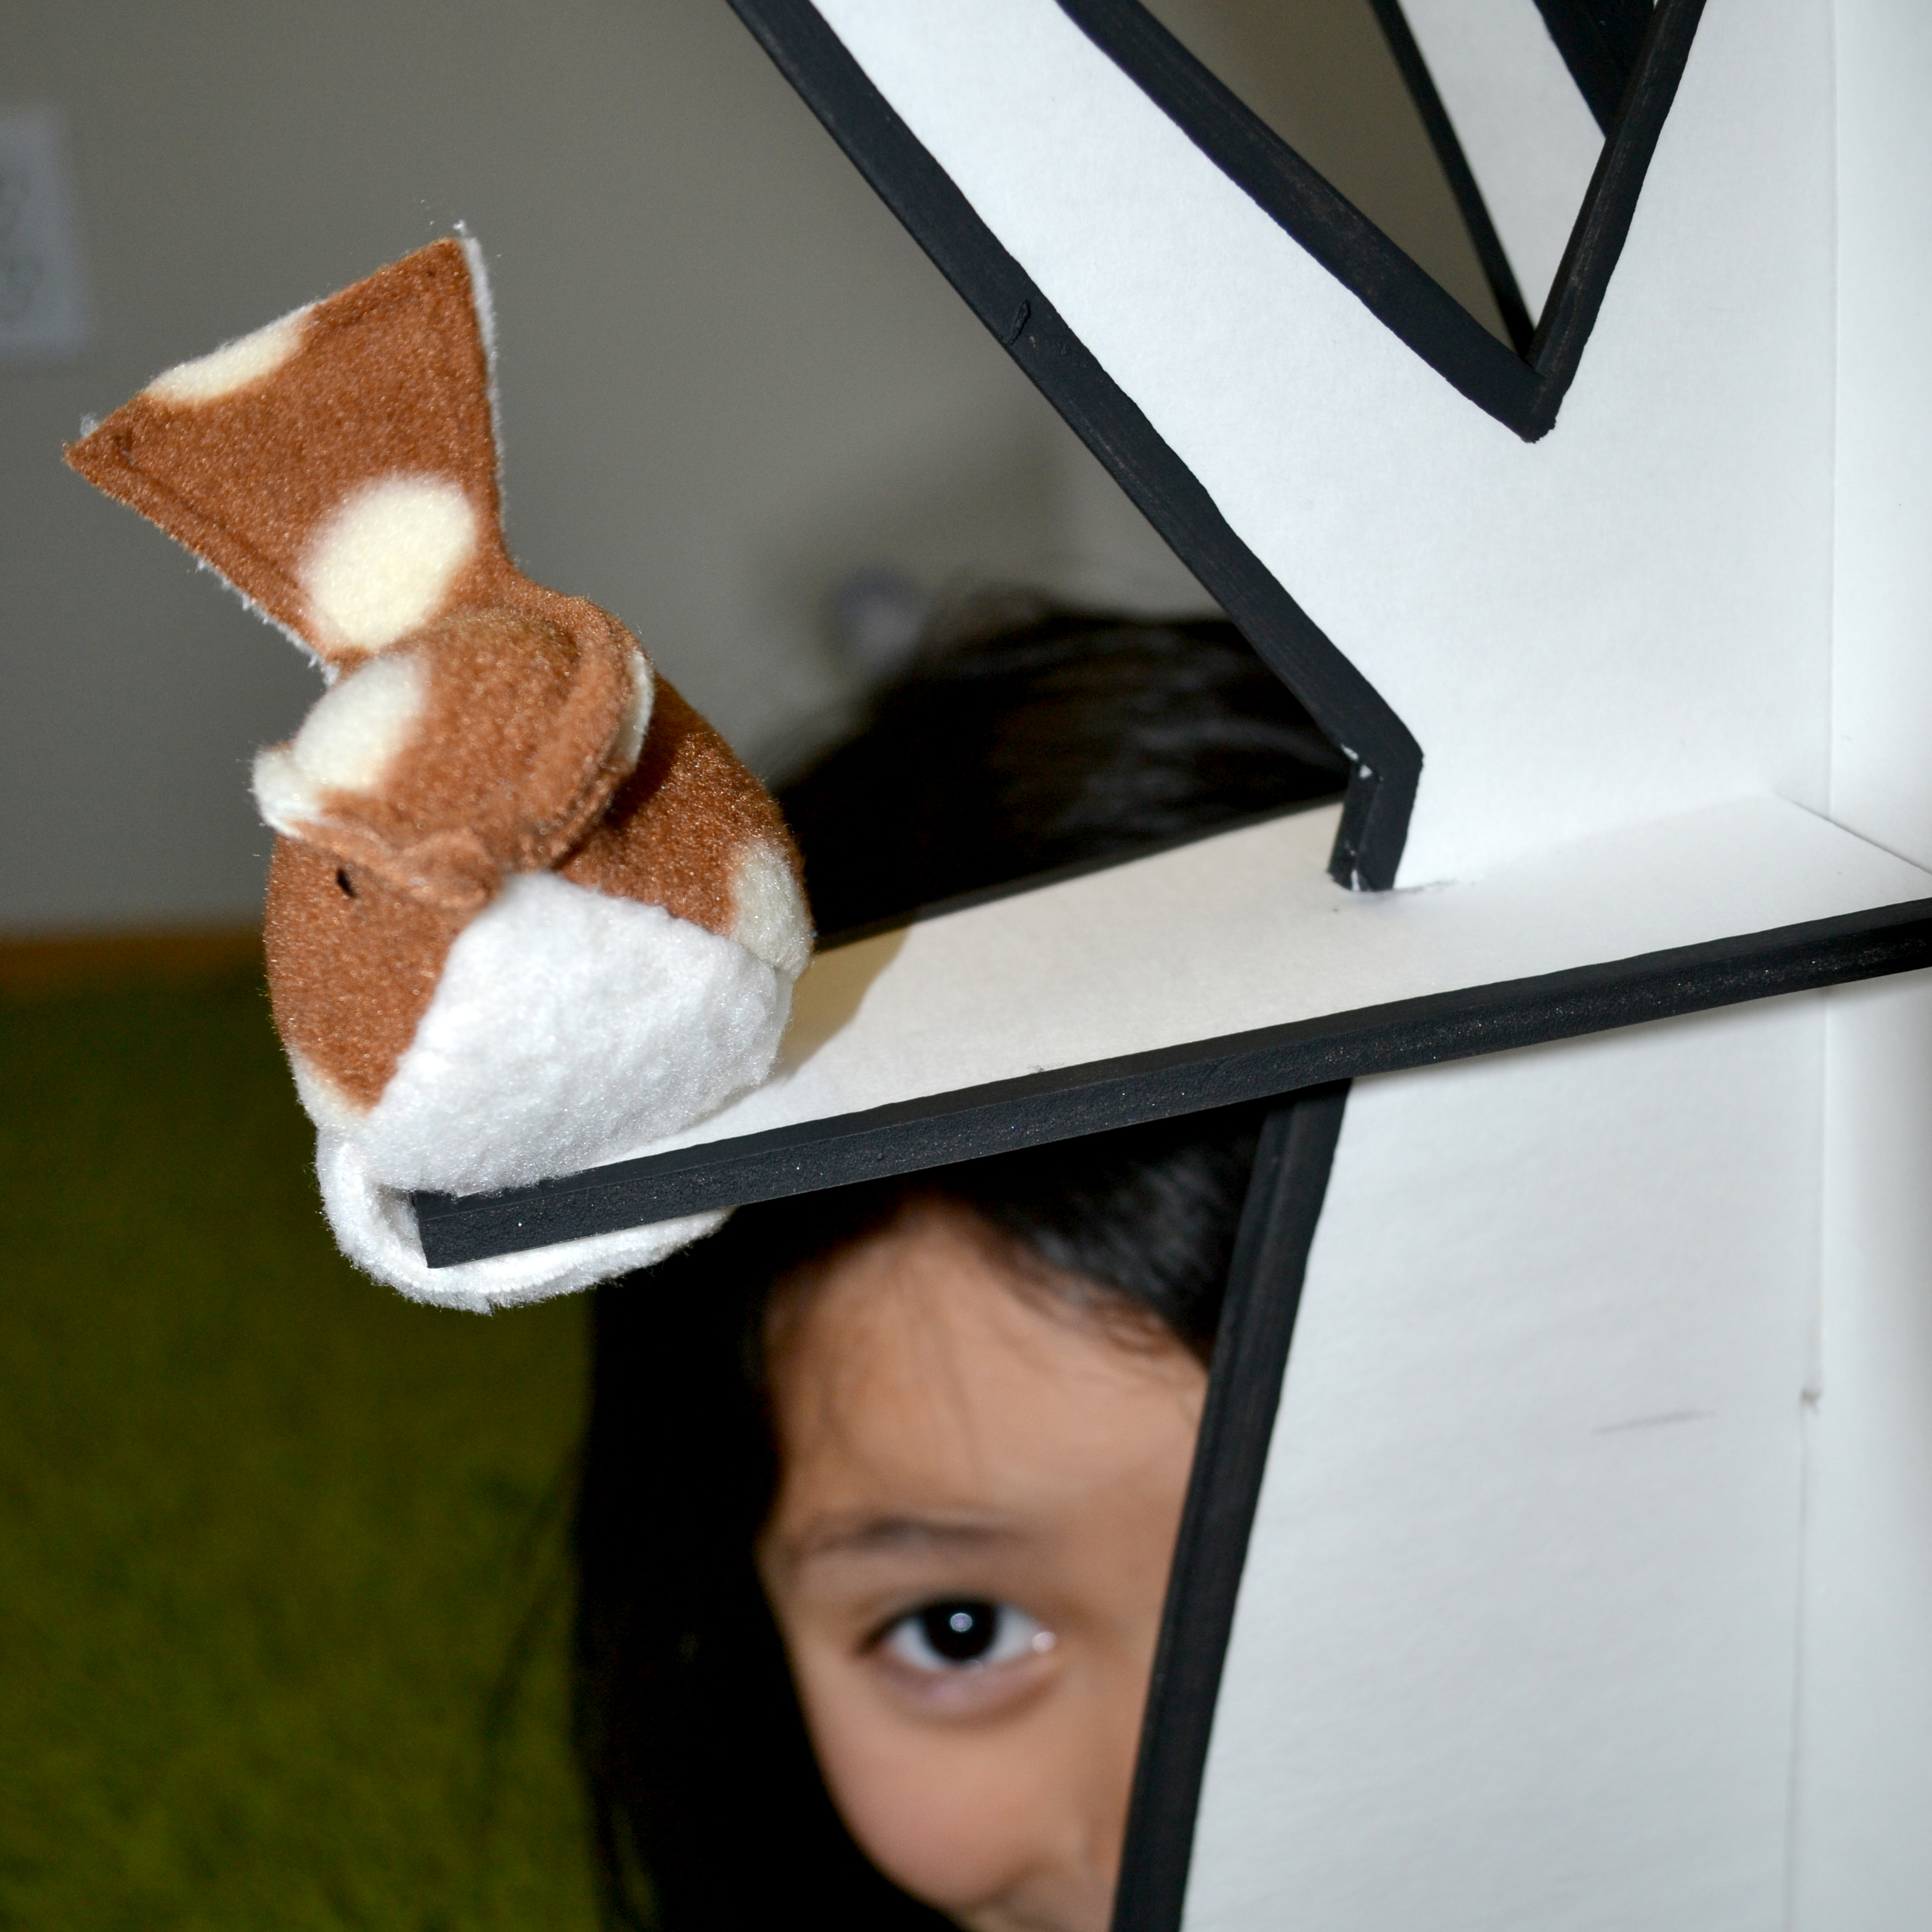
My favorite wall of fabric. This now has fleece fabric on the top (my main material for World of Whimm) and recycled tshirts below that (my main material for NueToMe) The third row is still a work in progress and the bottom row is primarily cotton in bins.
My sewing machine! You couldn’t see it in the before photos, but it was there. I kept this table mostly clear (other than the back 6 inches or so) – this way I’d have room to sew larger things – like finish the binding on the quilt that I had quilted last year.

- Bolt fabric, a few button bins and other things that make me happy.
I was really wanting to get rid of the bolts of fabric, but I do use them and there was too much fabric to integrate into the shelves. The bins of materials make me happy as do the sorted colorful beads in mason jars next to my clock (which never has the right time, but I love the look of it). I was also able to move my dress forms closer to my work area. This is a big deal since before they were in the hallway.

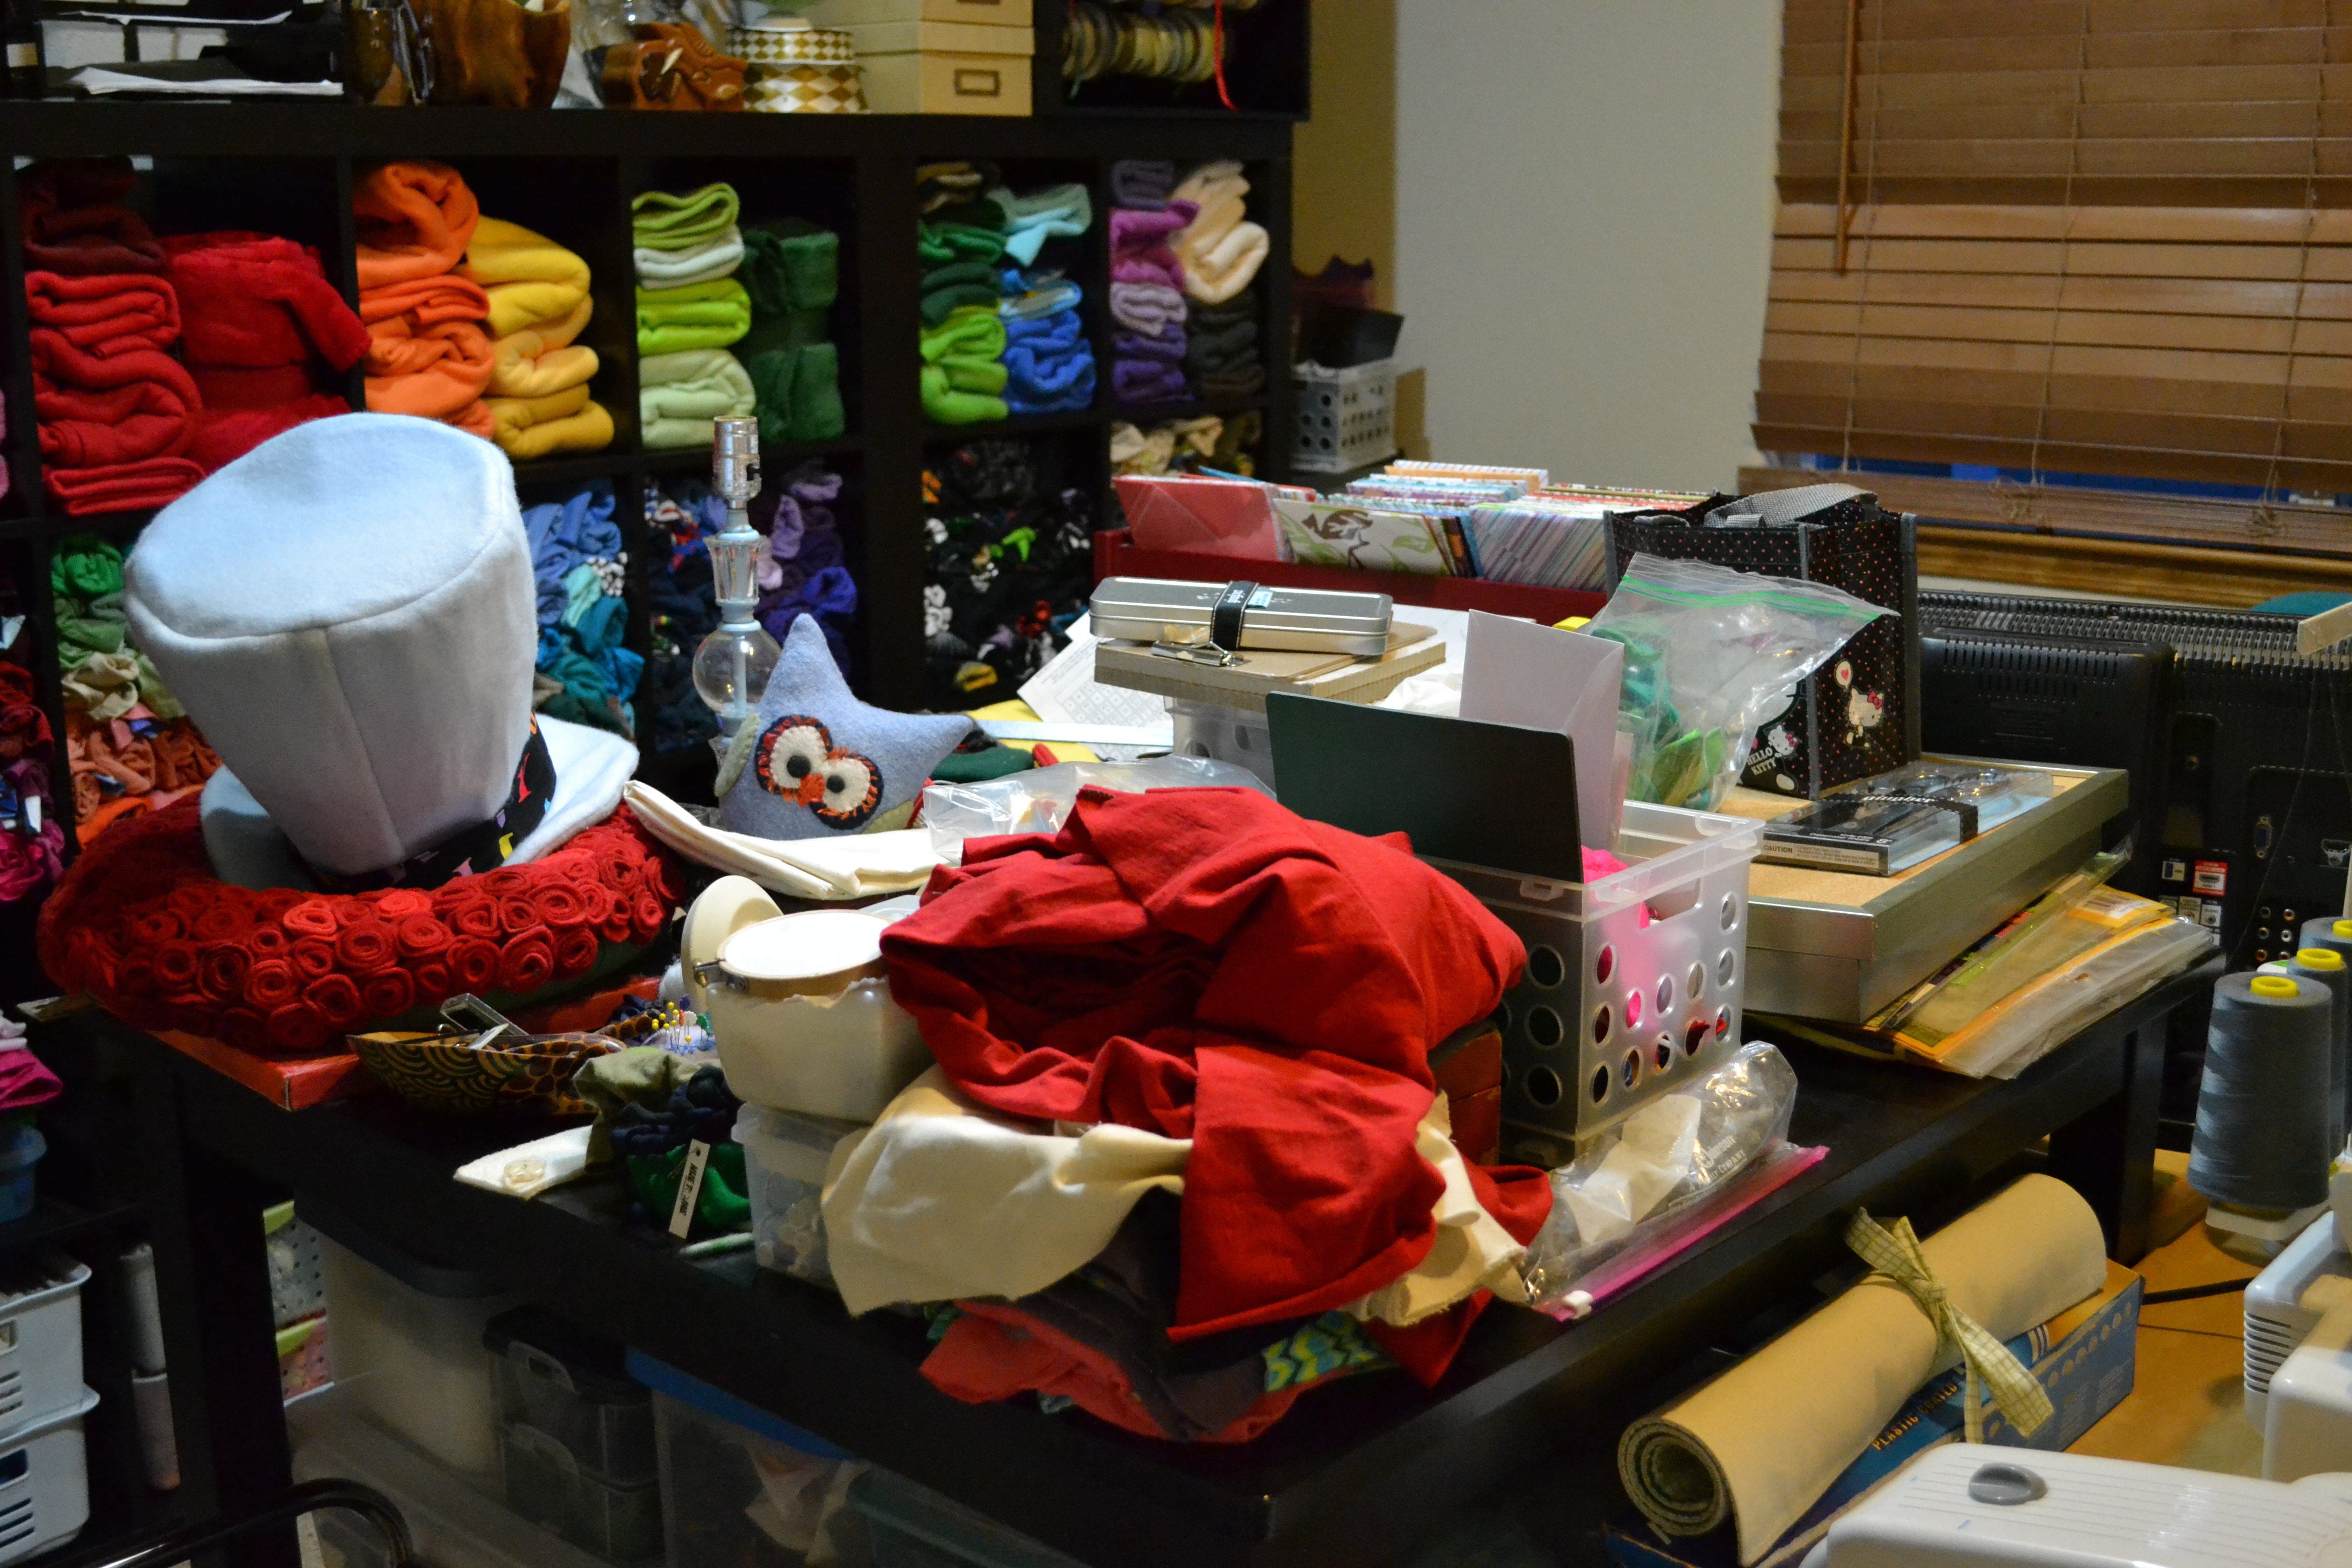
Yikes! Yep, this is why the workspace is not complete.
And yes, now you can see why this space isn’t complete. I didn’t take a picture of the hallway that still has a few displaced materials… and I have another sewing machine to still bring into this space. It’s now looked like this for two days. I’m hoping this week I can tackle at least two or three things on the table each day so that more progress happens.
I’m looking forward to finishing though and having room on the cutting table to cut out some new costume ideas. Or to make some new dresses. But for now, I will be happy with slow progress and space so that I can work on my current custom orders. Hurray!